
Object | FS-730 - fs-730
In other words, if you’re uncertain about what you’re doing, contact professionals like our technicians at American Home Water and Air.
Series FE825YA Small Footprint “N-Shape” Design Reduced Pressure Zone Assemblies are used to protect against high-hazard (toxic) fluids in water services to industrial plants, hospitals, morgues, mortuaries, and chemical plants. They are also used in irrigation systems, boiler feed, water lines, and other installations requiring maximum protection. They feature a bronze body and threaded ball valve shutoffs. Maximum Working Pressure: 175 psi (12.1 bar).
Series FE825YA Small Footprint “N-Shape” Design Reduced Pressure Zone Assemblies are used to protect against high-hazard (toxic) fluids in water services to industrial plants, hospitals, morgues, mortuaries, and chemical plants. They are also used in irrigation systems, boiler feed, water lines, and other installations requiring maximum protection. They feature a bronze body and threaded ball valve shutoffs. Maximum Working Pressure: 175 psi (12.1 bar).
When thermal expansion occurs, this can be dangerous. To avoid this danger, you will have to match the pressure of your regulator to the pressure of your expansion tank.
Want to read more? Check out 6 Air Conditioner Fire Prevention Measures and How To Protect Yourself From Poor Air Quality In Phoenix.
Many valves have a nut, screw, or knob attached to them that allow you to do the actual adjusting. Turning the screw or knob clockwise typically increases the water pressure while turning it counter-clockwise lowers the pressure.
When the water enters the valve at a pressure greater than what it’s been set to allow, the diaphragm and spring will contract and reduce the flow. The reverse is also true, however. If the water enters the valve at too low a pressure, the spring and diaphragm will expand and allow the water to exit through a larger hole.
Inside the valve, there are a spring and diaphragm. These two elements interact with incoming water pressure, either contracting or enlarging the hole that your water ultimately passes through.
This may be counterintuitive since it’s the opposite of how faucets work, so make sure you know what direction to turn in order to get your desired pressure.
Your pressure reducing valve setting will determine what it considers acceptable at both the upper and lower limits of its range.

Simply put, an open water heater system allows excess water pressure to make its way back into your cold water supply line and eventually out into the municipal water supply. A closed system does not allow excess pressure to make it back out into the municipal supply.
Most valves have a locking nut. Once you unscrew this nut, you will be able to turn the adjustment screw, knob, or bolt. Adjust it until the pressure shown on your gauge reaches the desired level. For most residential purposes, that means a pressure below 80 psi.
Also, note that adjusting your pressure reducing valve setting without fully understanding what you’re doing can lead to issues. Setting the pressure too high wastes water and can be harmful to your appliances. In extreme cases, your water heater can explode. Appliances like water softeners can also face damage.
It’s recommended that you check your water pressure at least once per year to ensure it’s at the desired level. As with most mechanical devices, however, your pressure reducing valve can begin to function improperly with time.
Once you’ve determined the pressure, use a hand pump to raise it to a pressure equal that of your home’s water pressure. Don’t use an air compressor; doing so risks damage.
Make sure you lock the adjustment nut on your pressure reducing valve. This will prevent the screw from turning easily, which would undo your adjustments.
Before you make any adjustments to your pressure reducing valve, you need to understand the existing circumstances. While you may know your pressure is too high due to symptoms such as dripping faucets, you want to get an exact reading on the pressure.
A pressure reducing valve is typically close to your water shutoff valve. You’ll know you’re looking at the valve because it will have a gauge nearby.
Do not make huge adjustments at once. Make no more than a quarter turn each time before taking a look at the gauge to see what effect you’re having.
Now that you have a good understanding of how pressure reducing valves work, you should have an idea of what’s happening when you do the adjustments.
If this doesn’t make total sense to you, don’t worry. The exact mechanics and physics of the process confuse even some experienced plumbers. What everyone does know is that the process works.
If you have a closed water heater system, you will also need to adjust the pressure on your thermal expansion tank. To do this properly, you’ll need an air pressure gauge to test the existing pressure of your expansion tank. Attach the valve directly to the air inlet valve on the tank.

Once the valve has been installed professionally, adjusting it on your own is fairly straightforward presuming you have a solid understanding of the steps outlined above.
Before you go about adjusting the pressure, contact your municipality to ensure the abnormal pressure is not just a temporary issue with their systems.
For this reason, you’d be wise to contact your water department to see if the issue lies with them. If not, it’s possible that your valve has gone out of wack somehow and requires adjustment.
A pressure reducing valve usually resembles a bell or dome. As mentioned earlier, you’ll usually see it alongside a gauge. It may be built right into your water meter. In most cases, however, you’ll find the valve in the form of a separate device that lies after the meter within your home’s water supply chain.
Water heaters in Phoenix are typically capable of handling pressure lower than 80 psi. City officials, meanwhile, consider pressure ranging from 40 to 100 psi acceptable. If the pressure of the water arriving at your home reaches the upper end of that range, it will damage not only your water heater but other appliances and pipes as well.
There are a few places you can attach the gauge to get a good reading. As long as the fixture is downstream of the valve, it’s doesn’t particularly matter. Many people attach the gauge to a water heater drain valve or simply a faucet.
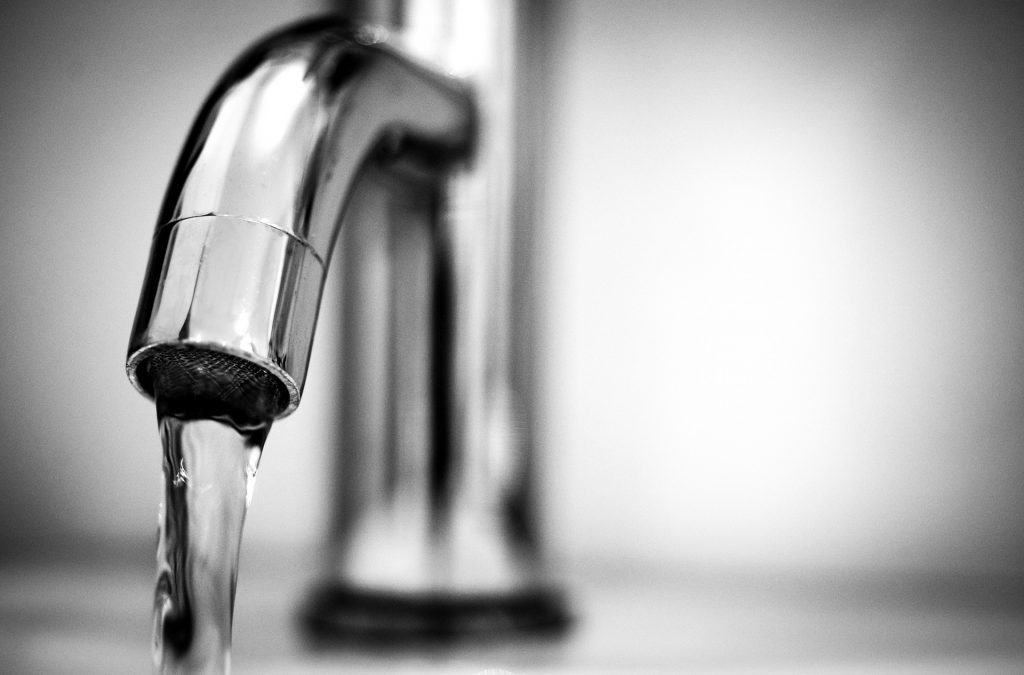
As their name would suggest, pressure reducing valves control the flow of water into your home. Without a pressure reducing valve, this water would travel through your plumbing at a rate unsuitable for residential use.
If you’re experiencing increased or decreased water pressure due to an abnormality in your municipal water supply’s function, adjusting the valve may throw things out of wack when the system returns to normal.
A pressure reducing valve is an important part of your residential water system. It allows you to adjust the pressure of water arriving in your home to a level that is suitable for your appliances.
Knowing how to adjust a pressure reducing valve is an important part of any DIYer’s toolkit. Be it for a reverse osmosis system or other plumbing needs. it is for In this article, we’ll start from scratch and walk you through the process. We’ll also tell you everything you need to know about pressure reducing valves and why you might need to adjust yours in the first place.
If you’re unsure of what you’re doing and live in the Phoenix area, give us a call at American Home Water and Air. We’ve been repairing residential water and HVAC systems for more than 30 years and we’d be delighted to serve you. We also provide top-notch HVAC and plumbing services in Gilbert, Glendale, Goodyear, Buckeye, and many other areas surrounding Phoenix, AZ.
You’ll know this is the case when adjustments to your valve do not result in changes to your water pressure. The pressure may be consistently high regardless of your efforts and you’ll likely notice issues such as water hammers and dripping faucets.
You can also find other useful guides like AC troubleshooting or Why is Your Air Conditioning Unit On the Roof in Arizona?
If you think you need to replace your pressure reducing valve, you’d be smart to contact a professional to do the job. It can be a confusing process for inexperienced DIYers as it requires soldering, plumbing work, and potentially the installation of other equipment to mitigate any issues you come across.


 8615510865705
 8615510865705